This tutorial will focus on creating an HDR image from a standard BMP or JPG, which is considered a LDRI, or Low Dynamic Range Image.
Carrara is the focus of this tutorial, but the images created by this method can be ported to any CG program capable of using HDRI images.
Requirements:
Windows PC
(though this may work on a Mac as well, just not with HDRShop)
Carrara Studio 3
HDRShop by Paul Debevec
found at http://www.debevec.org/HDRShop. At current there is not a Mac version, but there is a lot of interest in one. You may be able to run it in Vitual PC though.
A photo editing program
I use Paintshop Pro 8, but Photoshop will work just as well. Make sure that Windows defaults JPGs and BMPs to open in this program.
Time, lots of time... :)
1st Exercise
This exercise gets us used to using HDRShop to change the luminance values of an image to produce light within the HDR Image and subsequent render.I will provide a basic CAR file to use for a render. All necessary files are located at THIS link.
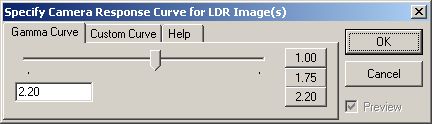
The Camera Response Curve isn't really important as we will be making changes to our own images instead of compiling others, so the default is usually OK for what we are doing.
Wait a few seconds. When HDRShop prompts with a window that says "Hit OK when edit complete," switch over to the image editing program. DO NOT CLICK OK! This will return the image from the temp file and your subsequent edits will not come through. Trust me, just leave it alone for now.
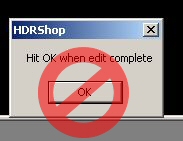
This will save the temporary file back so that HDRShop can refresh the image.
Honest, it's OK to do it now. Pinky-swear.
You will see your changes updated in the HDRShop window.
Now that we know that we can edit these images it is time to get started on "illuminating" the image, so to speak.
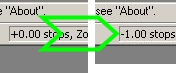
If you look at the bottom right of the screen, the "+0.00 stops" is now showing "-1.00 stops." Understanding at this point is not necessary. Just know that this reduces the luminance of the current image in HDRShop.
Time to bring this altered image in for editing.
We see that the sphere gets brighter again.
Pure White (H=255, S=255, L=255, 100% opacity) at lower f-stops will produce higher values in a doubling value. 1 at +0, 2 at -1, 4 at -2, 8 at -3, and so on.
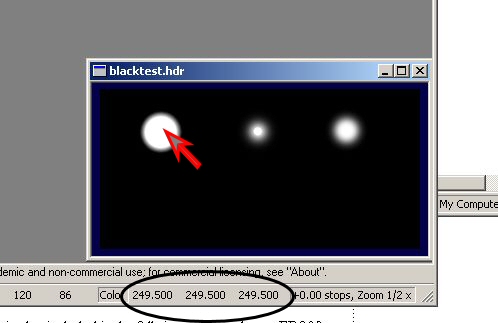
One word of warning, NEVER add black, or for that matter anything with a HSL-luminance value less than 32 (Paul Debevec recommends 15, but I like to be careful). Adding colors of this range will create artifacting in the image which translates into serious color banding when you change the f-stops parameters. Trust me on this one, just don't do it.
Rendertime:
Now it is time to check the HDR File.
First we must save it. Click File, then Save as. Choose Radiance Format (*.HDR,
*.pic), and then name your file. Then click Save.
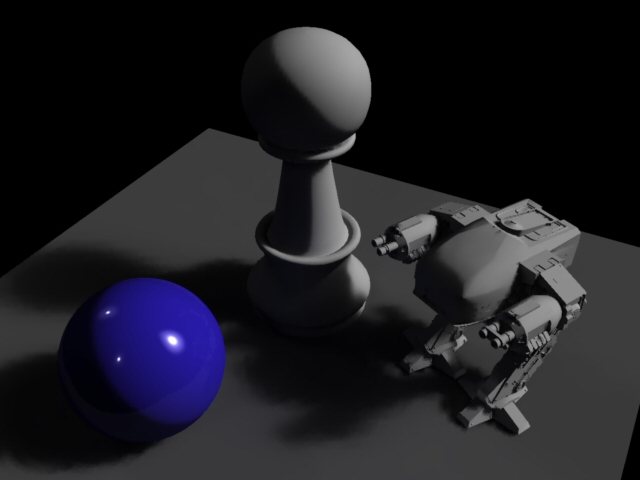
Click HERE for a good test render file that I use. It's a 415kb
zipfile. This is also included in the full zip package above. ED209 (the robot) comes courtesy of 3DCafe.
Open Carrara and the render file. It will ask to find a specific HDR file. Just find the one we just created and double-click on it.
Go to the Render Room and click Render. This will create a 640x480 render of the scene using Skylight and Indirect Light, lighting quality at Best. Don't worry if it comes out dark. This is not real good as a test of HDR images but it will allow you to see what happens when you start adding
luminance to an image, even a totally black one.